When Things Go Wrong
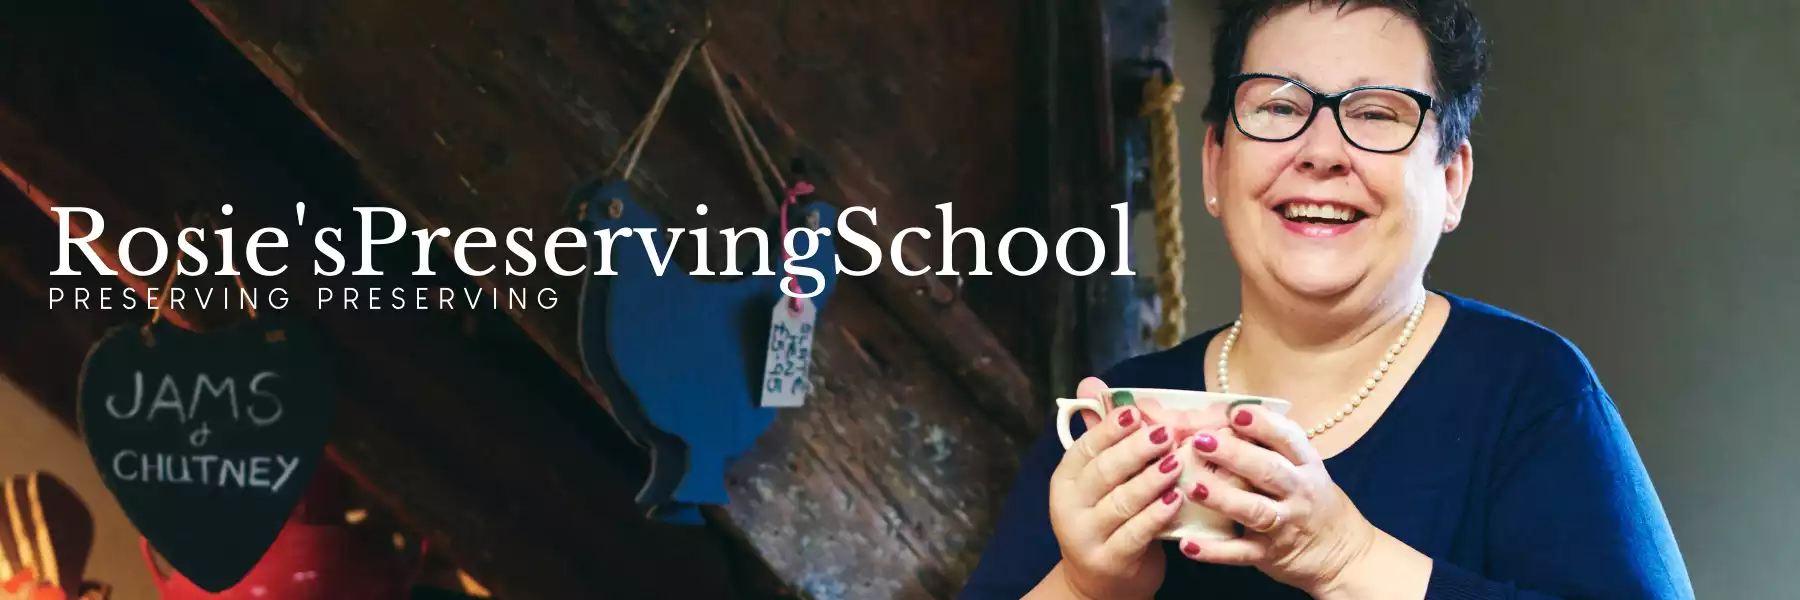
Like many things in life, jam making is easy when you know how - but mystifying when you don't. Rosie's Preserving School is there to help - use our Library of video Workshops to help . Cook along in real time, starting with Preserving for Beginners. You will soon find that it is indeed easy. There are lots of videos to choose from and they all have downloadable recipes. You can still join in with the live workshops each week - go and take a look and see just what a variety of preserves you could soon be making.
https://www.lovejars.co.uk/rosies-preserving-school/
Jam Won't Set
I always think that making jam is less about cooking and more like a chemistry experiment. You must have the right ratio of ingredients and you need to follow the right method.
To start the fruit must be very fresh - the essential constituent to help the jam to set is pectin, a heteropolysaccharide, a structural acid found in all parts of a plant's structure but at the highest concentrate in the fruit. Once the fruit is picked the levels of pectin start to drop so it is best to plan to make as soon as possible after picking.
Use equal amounts of white sugar to the weight of the fruit for optimum setting potential.
You need enough acid to combine with the pectin and the sugar so if you are a beginner always use the juice of one lemon to each kilo of fruit. Too much acid is better than not enough.
Finally you need heat. A lot of people are afraid of having the heat up high enough for the 'rolling boil' to take place so the order of work is as follows:-
Soften the fruit in the pan over a low heat until the juices are running freely. No need to add any water.
Add the lemon juice.
Add all of the sugar and stir until fully dissolved - you can't feel the sugar with your spoon, you can't hear the sugar scraping against the side of the pan.
So now increase the heat until the rolling boil can be seen - even bubbles across the whole of the surface. Do not stir.
Start your timer for 6 minutes. Do a 'crinkle test' on a saucer at the end of the time when you should see clear evidence of the set.
https://www.lovejars.co.uk/rosies-preserving-school/library/f2-preserving-for-beginners
Crystallisation
When making jam it is essential to fully dissolve the sugar before starting the final process - the rolling boil.
Sugar is crystalline and if any crystals are left undissolved in the jam like all crystals, they will grow forming a bigger cluster of crystals which are unpleasant to find in the jam and can actually make your gums or mouth sore. In and of themselves they will not make you ill but can be quite painful. Other common reasons for sugar to crystallise are:-
Over-saturation of sugar: If there is too much sugar for the amount of liquid present, or if the jam is overcooked, causing too much liquid to evaporate, the remaining liquid can no longer hold all the sugar, leading to crystallization.
Storage temperatures that fluctuate significantly can also encourage sugar to crystallize. Sealing the jam with cellophane covers or paper can also allow evaporation over time, again causing an imbalance in the sugar/moisture ratio.
Stirring the jam while it cools: This can cause sugar molecules to bond together and crystallize
Fermentation or Spoillage
There are yeasts, moulds and bacteria present in all areas of our lives but the correct processing of the fruit, cooking to a high enough temperature, for long enough, using the correct amount of sugar and acid, and sterilising your jars before use should make the jam sound enough to keep for years, if necessary.
The sugar in preserves is the preservative so by changing the traditional recipes the same reliable outcome is not going to be achieved.
We cook the fruit first to lower the moisture content - all yeasts, moulds and bacteria need a certain level of moisture to grow and thrive. Reducing the moisture level inhibits their growth.
When you are filling your jars, ensure first that they are washed, rinsed and placed upside down in a warm oven to dry - do not put any preserve into a wet jar.
Make sure that you fill the jars right to the top and apply the lid immediately. As the jam cools, it will shrink and leave a gap. This gap is a vacuum and nothing can grow in a vacuum.
If your preference is for a very low sugar jam with no other additives such as added pectin to help it to set - more of a compote - then you are no longer making jam. You will need to refrigerate the whole batch to make sure that mould does not develop on the surface although this is by no means impossible even with refrigeration.
Poor Colour
If your finished jam has a dull colour or maybe it is thick and 'gluey' - or all three then it has been overcooked. It is important to follow the recipe regarding boiling times and testing for a set. If the jam doesn't set readily it will be because of an imbalance in the recipe and/or method.
The first thing to try is to add the juice of another lemon and reboil. The most common fault in no-set is lack of acid.
If you have adjusted the sugar amount down try adding what you have left out. Either of these will often remedy the problem. However, if you are new to jam making it is often a surprise that the set is overlooked while the cooking continues until it 'looks like jam' When the setting point is reached the jam will be exteremly runny and for quite a while after it has been jarred up. The set test indicates that the jam will gel and be firm once cold - not in the pan. If over cooked it will have a dull colour and often be quite brown. Also, store away from strong sunlight which can affect some jams in this way.
Overcooked or Burnt
As described above overcooking jam may just be a lack of experience. Most jams can be made in around 30 minutes so if you are still cooking yours an hour and a half later there is something wrong! However, don't throw it away - it can still be used in cooking even if it is set solid. The only reason to throw away is if you have burnt it. In which case chalk it up to yet more experience and have another go. There will be no point saving it as the burnt flavour will be tasted throughout. We've all done it!
Cloudy Jelly
If you are making fruit or herb jellies the very best attribute is a perfectly clear gel with evenly distributed fruit or herbs.
You need to resist the urge to squeeze the jelly bag when it has ceased dripping, trying to extract the very last drops of goodness - this is what will make the jelly cloudy.
If you leave the finished jelly in the pan for around 15-20 minutes before jarring up it will start to gel slightly - difficult to see but it happens as the jelly cools down a little bit. When you start filling the jars it will cool a bit more, enough for the individual pieces to stay suspended and not all rise to the top of the jar. If the first jar still has this problem then just wait a few more minutes before trying another one. Always observe closely what the contents of the pan look like at each stage as you will soon notice differences that make it easier to tell when it is just right. Don't leave it in the pan too long though as once it starts to gel it can happen quite quickly!
Fruit is at Top of the Jar
As described above, preserves like strawberry jam, marmalade - anything with larger pieces of fruit need to cool for at least 20 minutes before being poured into the jars so that the gel part of the jam has enough strength to suspend the fruit evenly - too soon and it will rise through the gel and go straight to the top of the jar. It doesn't actually matter if this does happen as it will still taste the same and you can always stir once the jar is opened! ( It wouldn't win a prize in the Village Show however! )
Siphoning
This happens sometimes when you are preserving fruits in a jar by water bathing or pressure canning, usually due to not leaving enough headspace and room for expansion during processing. Care should be taken to make sure that the seal is sound and to wash any residue off of the jar before storage to prevent mould and mildew.
Incorrect Acidity
As mentioned above it is important to make sure that the correct amount of acidity is present and the easiest way to do this is to add the juice of one lemon to 1 kg of fruit. A great many fruits that taste highly acidic such as rhubarb, are in fact quite low, fruits such as melons, blueberries, bananas, cherries are all low acid and need the support of lemon juice which reacts with the pectin to aid the set. The lemon juice - or citric acid - lowers the pH and so helps to prevent microbial growth and keeps the jam safe to eat.In every case, the lower the pH the higher the acidity, measured from 0-14. Here is a quick summary:-
pH scale: Ranges from 0 to 14.
Acidic substances: Have a pH less than 7. The closer the pH is to 0, the more acidic the substance.
Neutral substances: Have a pH of about 7. Pure water is a classic example of a neutral pH.
Alkaline (or basic) substances: Have a pH greater than 7. The closer the pH is to 14, the more alkaline the substance.
So, when you're dealing with food preservation, particularly in jams and jellies, you’re often looking to maintain a pH on the lower end (acidic) to ensure safety and proper gelling. A lower pH (more acidic) helps prevent the growth of harmful bacteria and is crucial for achieving the right texture in jams and jellies by helping the pectin to set properly.
I find this particularly confusing as it seems counter-intuitive - the lower the number, the higher the acidity!
You can measure pH with simple paper testing strips or a digital reader in much the same way as measuring with a digital thermomater.
Fruit is Still Hard
It is important to cook your fruit thoroughly, with the lemon juice - preferably with no added water - until it is soft and tender. Then you can add the sugar - if you add it too soon there is a danger that the fruit will remain too firm to be pleasant to eat. This is more likely when making chutney than jam but take care with things like chopped apple.
Having said that, it is sometimes desirable to utilise that property. By soaking fruit such as strawberries or apricots in the sugar from the recipe and leaving overnight, the fruit can be kept in recognisable pieces rather than cooking down to a pulp. You can add the lemon juice as well and then just be very careful the next day when heating the pan and its contents - do it very slowly to prevent burning. ( We all know what happens if you burn something . . . . )
Those are just a few tips for you - lots more information can be found in Rosie's Preserving School of course, there is a whole host of videos plus the recipe downloads. My Workshops are also brought right down in price now to ensure that the maximum number of people can access the resources they need. Take a look!
https://www.lovejars.co.uk/rosies-preserving-school/

even bubbles across the whole surface

test the cooled jam by pushing with your little finger - it should crinkle!

side by side showing evenly distributed fruit and fruit risen to the top of the jar
